


Material Testing Blog

HomeMaterial Testing Blog

7 Tips for Choosing the Best UAV Camera Module

A Uav Camera Module is not merely a small sensor attached to a flying platform. It determines what operators can see, measure, and trust from several hundred feet above the ground. Drone Industry Insights projects the global commercial drone market to reach approximately $54.6 billion by 2030. That growth raises expectations for sharper images, safer inspections, and more dependable flight decisions. The wrong module can create blurred roof tiles, noisy night footage, or useless thermal readings.

Aerial-imaging specialist Eric Cheng expressed the idea simply: “A drone is a camera that flies.” His statement remains relevant. Weight, vibration, lens quality, stabilization, and software must work together. A larger sensor may improve low-light detail, but it can increase payload demands. Thermal capability may support inspections, yet it also requires careful calibration and trained interpretation. There is no perfect specification sheet.

This guide presents seven practical tips for choosing the best Uav Camera Module. It considers resolution, sensor size, dynamic range, shutter design, gimbal performance, thermal options, and system compatibility. FAA registration data reported more than 850,000 registered drones in the United States during 2024, showing how quickly aerial systems are entering professional workflows. However, market growth does not guarantee reliable results. A module should match the mission, not simply advertise the highest megapixel count. Check sample footage. Test edge sharpness. Examine cables and connectors. Small details matter. Some recommendations may need revision as sensors and regulations change. That uncertainty deserves honesty.
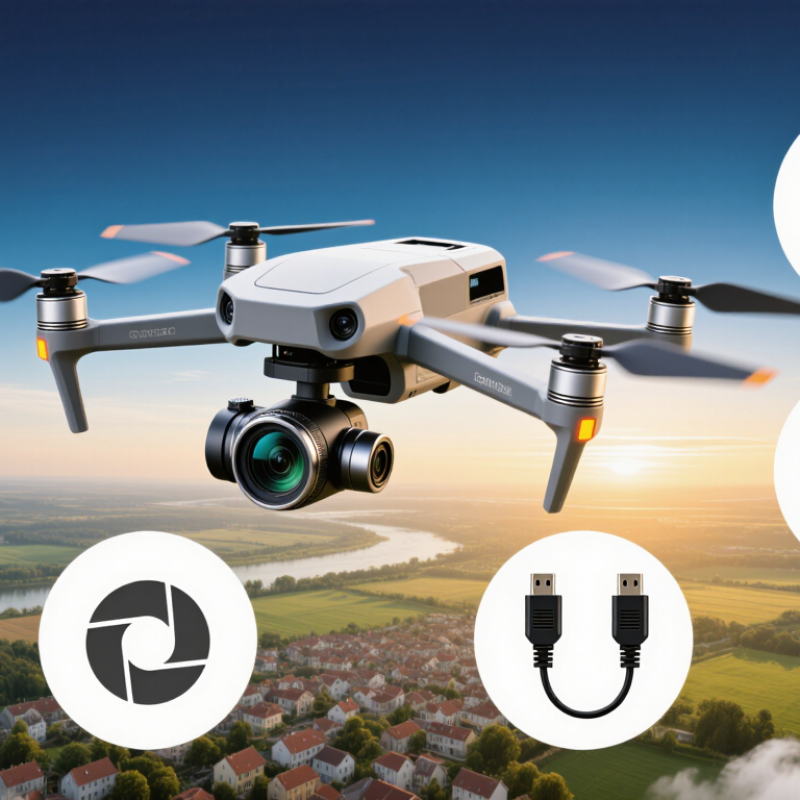
7 Tips for Choosing the Best UAV Camera Module

Understanding UAV Camera Module Specifications and Imaging Needs

Tip 1: Match the sensor to the mission, not the advertised pixel count. A larger sensor usually captures cleaner images in fading light. Resolution matters, but dynamic range often matters more. Test both in a bright field and under tree shadows. A perfect specification sheet can still mislead.

Tip 2: Study the lens and movement together. A narrow field of view reveals distant details, while a wider lens helps during mapping and inspection. Check focal length, distortion, focus range, and optical stabilization. Rolling-shutter distortion can bend poles or moving vehicles during flight. I once trusted resolution too much and missed this issue. That mistake was expensive in time, not money.

Tip 3: Consider the complete imaging workflow. Confirm frame rate, video bitrate, storage format, and connection latency. A sharp image is less useful if compression destroys small cracks. For thermal work, inspect temperature range, sensitivity, and calibration records. Ask for sample files, not only catalog images. Then test the module on your actual aircraft, gimbal, and software. Vibration, wind, and changing exposure can reveal weaknesses that laboratory tests hide. Keep a short test log. It supports reliable decisions and makes later revisions easier.

Matching Camera Features to Your Drone’s Flight Performance

A UAV camera module should match the way your drone flies, not simply its advertised resolution. A fast racing platform needs low-latency video and a lightweight body. Every extra gram affects acceleration, braking, and battery life. For slow surveying flights, a larger sensor can matter more than extreme frame rates. It captures clearer details under changing daylight.

Check the camera’s shutter behavior before installation. Rapid movement can create bent poles, vibrating rooftops, or blurred crop rows. A global shutter usually handles motion more accurately, while electronic stabilization may reduce detail during aggressive turns. Test both features during a short flight. Wind reveals weaknesses quickly. I once trusted a specification sheet and ignored vibration from the mounting plate. The footage looked acceptable on the bench, but unusable above a moving field.

Match the lens to the aircraft’s operating height and speed. A wide view helps navigation, but it can make distant objects appear small. A narrow lens improves detail, yet demands steadier flight control. Confirm the module’s dynamic range, especially for flights between bright clouds and shaded ground. Storage speed, heat management, and connector reliability also deserve attention. A camera that overheats after twelve minutes is not practical, even if its image quality is excellent. Leave room for imperfect weather, uneven payload balance, and small mistakes in pilot control.

Evaluating Image Quality, Sensors, Lenses, and Stabilization

7 Tips for Choosing the Best UAV Camera Module

Image quality starts with more than megapixels. Check dynamic range, color accuracy, noise, and detail in shadowed areas. A larger sensor usually captures cleaner images in low light. However, sensor size can increase weight and power consumption. Balance matters.

Test the lens before purchase. Look for edge sharpness, low distortion, and consistent focus across the frame. A wide lens covers more ground, but it may bend straight structures. Optical quality matters. Do not trust only laboratory charts. Review real aerial footage with rooftops, trees, and distant roads. I once chose a lens with impressive center detail and missed serious corner softness.

Stabilization deserves careful testing. Mechanical stabilization can reduce vibration during slow turns, while electronic correction may crop the image. Compare footage during takeoff, wind, and sudden direction changes. Check rolling-shutter distortion as well. It can make poles appear tilted. Confirm the module supports the frame rate, exposure control, and storage format your workflow requires. Also inspect heat performance after several minutes of recording. A camera may look excellent for one flight and degrade after warming up. My own early tests were too short, so I now test every module under realistic conditions. Keep the aircraft’s payload limits in mind. A heavier camera can shorten flight time and reduce maneuverability.

7 Tips for Choosing the Best UAV Camera Module

Comparing sensor formats by active imaging area

Sensor area is a practical indicator of potential image quality. Larger sensors generally collect more light, provide better low-light performance, and offer greater control over depth of field, but they can increase camera size, weight, power consumption, and cost. Values are calculated from representative active dimensions; exact dimensions vary by sensor model.

Checking Compatibility, Power Use, Weight, and Installation Requirements

7 Tips for Choosing the Best UAV Camera Module

Checking Compatibility, Power Use, Weight, and Installation Requirements

Tip 1: Confirm physical and electrical compatibility before comparing image quality. Check the mounting holes, connector type, voltage range, and communication protocol. A camera may look suitable but fail during integration. Measure the available space with a ruler. Leave room for cables and airflow. I once underestimated connector clearance, and the installation became unnecessarily difficult.

Tip 2: Study power use under real operating conditions. Do not rely only on the lowest listed figure. Recording, stabilization, and data transmission can increase consumption. Compare the module’s voltage, current, and peak draw with the aircraft’s power budget. A small difference can shorten flight time. Test the camera during startup, recording, and extended operation. These readings are more useful than assumptions.

Tip 3: Treat weight and installation as connected decisions. Include the lens, cable, bracket, vibration damper, and protective cover. A lightweight camera can still create balance problems when mounted far from the center. Check whether the aircraft needs a reinforced plate. Make sure the lens remains clear after installation. Use thread-locking methods approved for the airframe, but avoid excessive material. My earlier setup was secure, yet the added hardware affected balance more than expected. Recheck the center of gravity after every change.

7 Tips for Choosing the Best UAV Camera Module - Checking Compatibility, Power Use, Weight, and Installation Requirements

Tip Selection Dimension What to Check Practical Target or Requirement Why It Matters
1 Interface Compatibility Confirm the camera's video interface, control protocol, connector type, signal format, and supported flight-control or gimbal system. The module should support the aircraft's available interface, such as USB, MIPI CSI-2, Ethernet, or an analog video connection, without requiring incompatible adapters. An incompatible interface can prevent video transmission, camera control, recording, or integration with the onboard computer.
2 Input Voltage and Power Use Review nominal voltage, allowable voltage range, average current, peak current, startup behavior, and power consumption during active operation. Use a regulated supply within the specified voltage range and leave at least 20% electrical headroom above the expected continuous load. Insufficient power capacity may cause image dropouts, unexpected resets, electrical noise, or reduced flight time.
3 Weight and Center of Gravity Measure the complete installed mass, including the camera, lens, cable, mount, vibration isolator, and protective housing. Keep the payload within the aircraft's rated payload capacity and position it close to the intended center of gravity. Extra mass reduces endurance, while an off-center payload can increase control effort and affect flight stability.
4 Image Sensor and Resolution Compare sensor size, pixel dimensions, frame rate, shutter type, dynamic range, low-light performance, and image format. Choose resolution and frame rate according to the mission: higher resolution for detail, higher frame rate for fast motion, and global shutter when rolling-shutter distortion is unacceptable. The highest nominal resolution is not always the best choice; sensor behavior and lighting conditions strongly affect usable image quality.
5 Lens and Field of View Check focal length, horizontal and diagonal field of view, aperture, focus method, distortion, and minimum focus distance. Match the field of view to the operating altitude, inspection distance, mapping overlap, and required level of detail. A wide lens covers more area but may provide less detail per object and can introduce greater edge distortion.
6 Physical Fit and Installation Verify dimensions, mounting-hole pattern, cable exit direction, connector clearance, lens clearance, sealing needs, and access for maintenance. Allow clearance around the lens and connectors, route cables without sharp bends, and use a rigid mount with vibration control where necessary. Poor installation can cause vibration blur, blocked airflow, cable strain, obstruction of the field of view, or difficult servicing.
7 Environmental and Operational Durability Check operating temperature, humidity tolerance, vibration resistance, dust and water protection, image stabilization, and storage requirements. Select an enclosure and mounting method appropriate for the aircraft's expected weather, vibration level, altitude, and mission duration. Environmental stress can reduce image quality, shorten service life, cause condensation, or lead to intermittent operation.

Pre-installation checklist: Confirm interface compatibility, regulated power availability, total payload mass, center-of-gravity impact, lens clearance, cable routing, vibration isolation, and environmental requirements before flight testing.

Comparing Reliability, Data Systems, Cost, and Long-Term Support

7 Tips for Choosing the Best UAV Camera Module

A reliable UAV camera module begins with field conditions, not a brochure. First, check vibration resistance, operating temperature, and ingress protection. A camera that survives a controlled test may still fail above dusty farmland. Second, inspect image consistency across changing light. Third, measure shutter response, motion blur, and low-light noise. According to MarketsandMarkets’ UAV Market report, the global UAV market was projected to grow from USD 30.6 billion in 2022 to USD 58.4 billion by 2027. More deployments mean less tolerance for missed data.

Fourth, review the data system carefully. Confirm interface speed, storage format, metadata accuracy, and compatibility with your ground software. A sharp image is useless if location tags drift by several metres. Fifth, compare total cost, including calibration, mounts, storage, repairs, and operator time. The cheapest module often becomes expensive after repeated field failures. I have underestimated maintenance before. That mistake was measurable.

Sixth, ask about long-term support. Firmware updates, spare parts, repair procedures, and documented service periods matter more than a short warranty. The FAA’s Aerospace Forecast highlights continuing growth in commercial small-UAS operations, increasing the need for dependable equipment and trained operators. Seventh, request sample datasets from real missions. Examine corner sharpness, exposure changes, and file integrity frame by frame. Industry reports can guide selection, but field evidence should decide it. Fancy specifications can mislead. Reliability is proven outdoors.

Go to Top